LANGUAGE & CURRENCY
AUTOOL Blog, Repair Information
Should You Clean or Test Your Fuel Injectors First?

August 26, 2026
Share:
 autoolstore.com
Repair testing / 8 sub-categories
Diagnostic tools for leak tracing, visual inspection, battery health, circuits, pressure, spark, oil, and electrical readings.
Repair maintenance / 6 sub-categories
Service equipment for fluid exchange, A/C diagnostics, refrigerant recovery, oil handling, and cooling-system work.
Carbon cleaning / 3 sub-categories
Carbon-removal equipment for injectors, intake valves, components, and workshop cleaning jobs.
Wheel tire / 3 sub-categories
Equipment for alignment, lifting, tire repair, tire mounting, and service-bay workflows.
Tool storage / 1 sub-category
Storage products for keeping workshop tools, test equipment, and accessories organized.
EV charging / 1 sub-category
EV charging products for new-energy vehicle service, workshop use, and installation scenarios.
OBD diagnosis / 5 sub-categories
OBD-related testers, ECU programming power supplies, cable products, used-car inspection tools, and key frequency diagnostics.
Accessories / 8 sub-categories
Replacement parts, adapters, consumables, cables, and add-ons for major diagnostic and service equipment.
After receiving the fuel injector tester and cleaner you carefully selected, you may wonder where to start with all the accessories. You may also be wondering: Should you clean the fuel injectors first or test them directly? In this article, we’ll use the AUTOOL CT160 Fuel Injector Tester & Cleaner as an example to walk you through the correct operating procedures and important precautions.
For DIY enthusiasts and home mechanics, this is a common question. The correct procedure is to clean the fuel injectors first and test them afterward. Here’s why. Fuel injectors that require testing are often contaminated with carbon deposits and other impurities. If you test a dirty injector directly, the results may be inaccurate or difficult to evaluate. During testing, loose carbon deposits can also enter the test cylinder, contaminating the test fluid and potentially causing damage to the equipment.
Cleaning the injectors first removes most of the carbon deposits and contaminants from their surfaces. Once the injectors are cleaned, the subsequent test results will be more accurate, while the risk of contamination and equipment damage is significantly reduced.
Add Cleaning Fluid: Pour the dedicated cleaning fluid into the ultrasonic cleaning tank. The fluid level should be high enough to completely submerge the cleaning rack. For a thorough, all-around cleaning, make sure the entire injector is fully submerged in the cleaning fluid.
Connect the Wiring: Connect the injector drive cable to the corresponding injector socket. For some special injector models, a dedicated adapter cable may be required. Make sure the connection is secure and the electrical contact is reliable.
Start Cleaning: After the injectors are properly connected and immersed, power on the machine and select the Ultrasonic Cleaning mode to start the standard cleaning process.
Finish and Dry: Once the cleaning cycle is complete, remove the injectors and wipe away any remaining cleaning fluid with a lint-free soft cloth. You can also use a low-pressure air gun to dry the injectors thoroughly. Keep the cleaned injectors in a clean, dry place until testing.
⚠️ Important Warning: Never start the ultrasonic cleaning program with an empty cleaning tank. Running the ultrasonic cleaner without cleaning fluid can directly damage the transducer and main control board, resulting in equipment failure.
Add the Test Fluid
Use the supplied small funnel to slowly add the dedicated test fluid through the machine’s fluid inlet. Monitor the fluid level through the sight window and fill it to the specified level.
Install and Secure the Fuel Injectors
Connect the Wiring and Hoses
Parameter Setup and Testing
Test Completion
The device will automatically run a countdown. Once the working time reaches zero, the system will automatically stop the test, completing the entire inspection cycle.
Pro-Tip: Ensure all components are aligned correctly and screws are tightened to the appropriate torque during installation. Avoid over-tightening (which can strip threads) or under-tightening (which can cause leaks). Secure all hoses and wiring to prevent pressure loss or power interruptions that could skew your test data.
Maintenance and Care
After using the device, switch off the power and unplug the power cord. Return all connectors to their original positions, seal the ultrasonic cleaning fluid back into its original bottle, and wipe the machine clean with a dry, soft cloth.
If the machine will not be used for an extended period, open the test fluid valve and drain the test fluid from the tank back into its original bottle for sealed storage.
Test Fluid Replacement: Over time, test fluid accumulates impurities. Contaminated fluid must not be used, as it can clog the injectors. To replace the fluid, open the valve to drain the old fluid completely. Then, pour in a small amount of clean fluid to flush the internal system. Finally, close the valve and refill with fresh test fluid.
Fuse Replacement: A fuse box is located next to the power outlet on the left side of the machine. Pull the box open to access the fuse. If it is blown, replace it with a new 5A fuse.
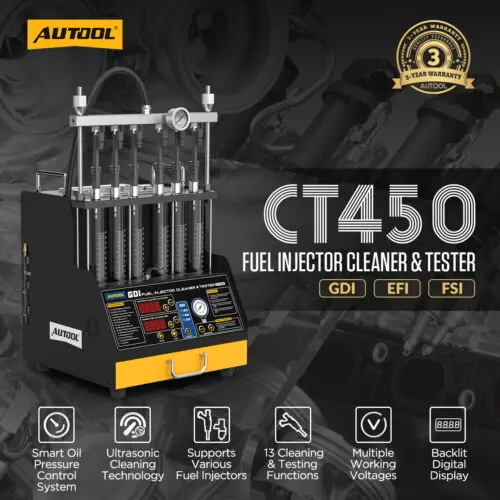
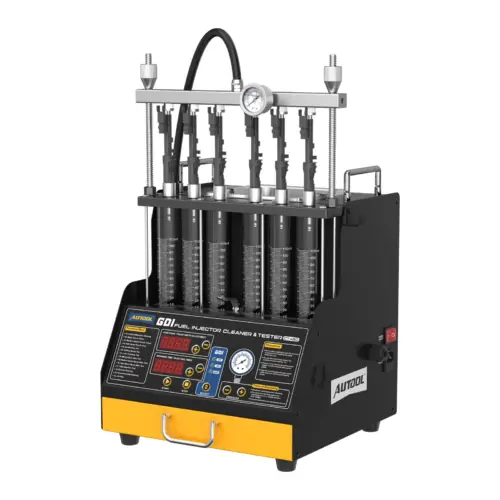
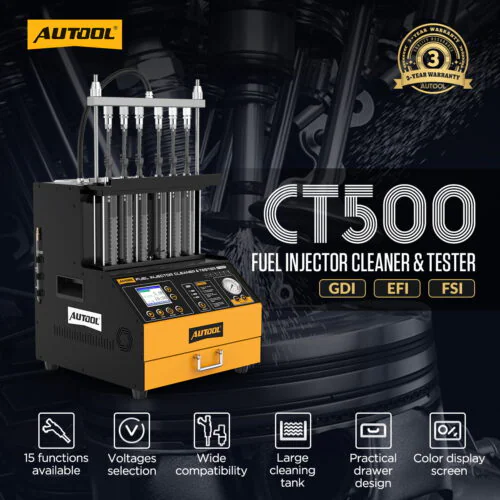
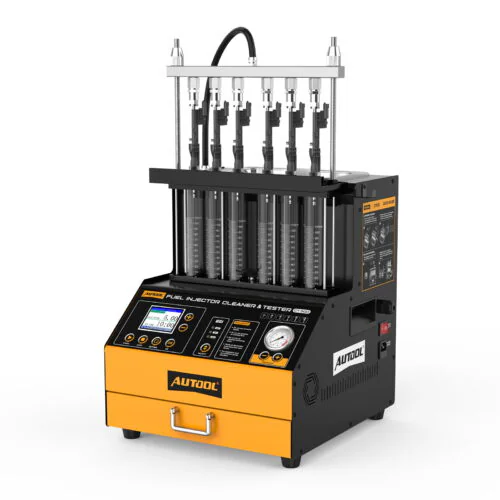
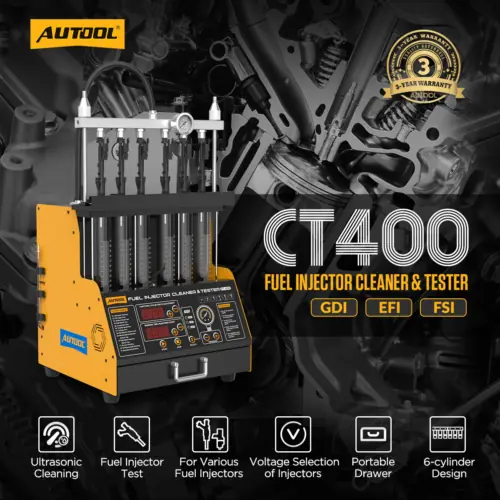
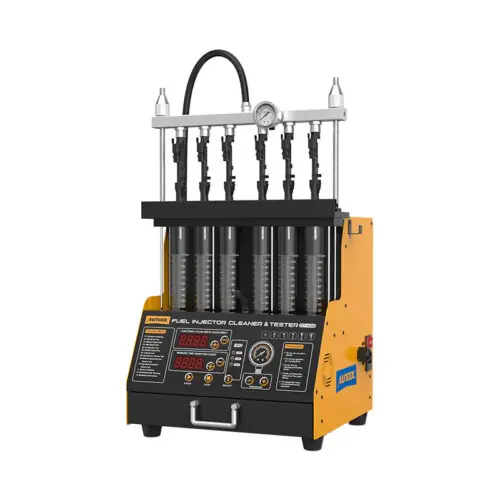

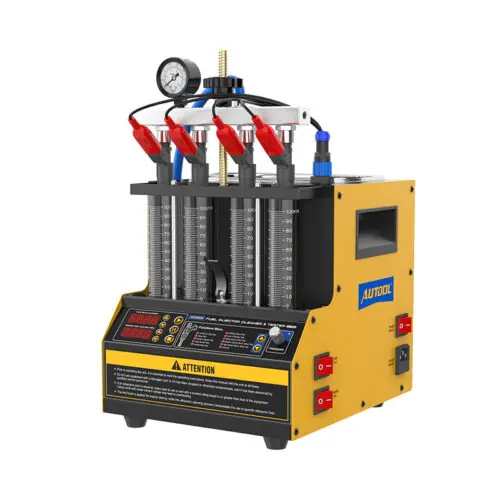
Following the standard workflow—clean first, test second—not only allows you to accurately diagnose issues like clogging, wear, leaks, and poor atomization, but also maximizes the lifespan of your testing equipment. It prevents misdiagnosis, rework, and unnecessary part replacements. Whether you are a DIY enthusiast or a professional workshop technician, this is the most standard and efficient operating procedure. We hope this guide helps you get the most out of your fuel injector tester!
If you would like to learn more about AUTOOL Fuel Injector Tester and Cleaner, please click on the contact information or button below to contact us directly.
WhatsApp: +86 189 2647 7404
Email: [email protected]