Без категорії
How to Use a Smoke Leak Detector? Complete Procedure + Safety Tips Every Automotive Technician Should Know

September 30, 2026
Поділитися:
 autoolstore.com
Repair testing / 8 sub-categories
Diagnostic tools for leak tracing, visual inspection, battery health, circuits, pressure, spark, oil, and electrical readings.
Repair maintenance / 6 sub-categories
Service equipment for fluid exchange, A/C diagnostics, refrigerant recovery, oil handling, and cooling-system work.
Carbon cleaning / 3 sub-categories
Carbon-removal equipment for injectors, intake valves, components, and workshop cleaning jobs.
Wheel tire / 3 sub-categories
Equipment for alignment, lifting, tire repair, tire mounting, and service-bay workflows.
Tool storage / 1 sub-category
Storage products for keeping workshop tools, test equipment, and accessories organized.
EV charging / 1 sub-category
EV charging products for new-energy vehicle service, workshop use, and installation scenarios.
OBD diagnosis / 5 sub-categories
OBD-related testers, ECU programming power supplies, cable products, used-car inspection tools, and key frequency diagnostics.
Accessories / 8 sub-categories
Replacement parts, adapters, consumables, cables, and add-ons for major diagnostic and service equipment.
Small leaks in automotive vacuum, intake, or EVAP systems can be difficult to locate by visual inspection alone. A smoke leak detector introduces a controlled flow of air and visible smoke into a testable sealed system, making cracks, loose connections, and failed seals easier to identify. However, seeing smoke does not automatically mean an accurate diagnosis has been completed. The choice of test port, system isolation, pressure setting, and interpretation of results can all affect the final diagnosis. The following procedure outlines a more systematic approach to testing with a typical low pressure automotive smoke leak detector.
Before testing, identify whether the target system is EVAP, intake, vacuum, exhaust, crankcase, or another sealed area. Refer to the vehicle service information to confirm the correct test port, valve positions, and allowable test pressure. Different systems have different pressure limits, especially EVAP systems, so pressure settings for general-purpose lines should not be applied to them without verification. A smoke leak detector should not be connected directly to high-pressure automotive A/C lines, the high-pressure side of the fuel system, or components where smoke testing is specifically prohibited by the manufacturer. If it is unclear whether a system can be tested, consult the vehicle and equipment manuals rather than relying on assumptions.
Place the equipment on a stable, well-ventilated surface away from open flames and hot components. Inspect the power clamps, smoke hose, connectors, and sealing bladder for damage. Make sure there is no excessive residual oil or blockage from previous use.
Add the specified type and amount of test oil according to the instructions for the corresponding model. Some AUTOOL smoke leak detectors recommend adding approximately 10-15ml of Johnson’s Baby Oil for initial use. Do not overfill the oil, as excessive oil may cause oil discharge, leave insufficient space for smoke generation, or contaminate the equipment. Never add test oil while the unit is running, hot, or connected to a power source.
After locating the appropriate test port, select a suitable cone adapter, EVAP adapter, or inflatable sealing bladder based on the hose diameter, and connect the smoke hose securely. Then seal the normal open paths in the system according to the service procedure.
For example, when testing the intake system, the throttle body, breather lines, and other connections to the atmosphere may need to be addressed. When testing the EVAP system, check the status of the vent valve, purge valve, and fuel cap. If a normal outlet remains open, smoke may escape through the designed path and be mistaken for a leak. Conversely, excessive sealing can also alter system conditions, so the sealing method should follow the vehicle service information.
Most portable units are powered by a vehicle’s 12V battery, while some professional models also support 24V power. Confirm the equipment’s rated voltage before connection. Connect the positive and negative clamps correctly before switching on the unit. Low battery voltage or reversed polarity may prevent the equipment from operating properly. Models with a built-in air pump generally do not require an external air compressor. External-air-source models such as the AUTOOL SDT 101 and SDT 103 require connection to a shop air supply. The compressor inlet pressure must be distinguished from the output pressure at the test port. Unregulated compressed air must never be supplied directly to the vehicle system.
If the equipment provides an air mode, pressure gauge, or flow meter, perform an initial check without smoke. Introduce air gradually and observe whether pressure can build and whether the flow gradually decreases. If the system is properly sealed but cannot maintain pressure, a significant leak may be present. If pressure drops slowly or a small flow continues, a minor leak may be present. However, loose connections, incorrect valve positions, and poorly sealed adapters can produce similar results, so instrument readings alone should not be used to confirm component failure.
After confirming that all connections are correct, activate smoke mode and allow smoke to gradually fill the test area. Inspect hose connections, seals, valves, welds, housing joints, and common wear points. A flashlight directed from the side can make fine smoke streams easier to see. Do not exceed the specified pressure or continuously increase the flow to shorten the testing time. Large-volume systems naturally require more time to fill.
When smoke appears, first determine whether it is coming from a normal vent, drain hole, or an unsealed path. Clean the suspected area and repeat the test to determine whether smoke consistently emerges from the same point. Hose cracks, loose clamps, deteriorated seals, and housing cracks can produce similar smoke patterns, so a disassembly and further inspection are required to identify the actual cause.
If no smoke is visible, don’t immediately conclude the system is functioning perfectly. An incorrect test port, smoke failing to reach the target area, a blocked line, abnormal valve position, intermittent leakage, or a non-leak-related fault may result in little or no visible smoke. In such cases, diagnosis should continue with trouble codes, live data, and vehicle function tests.
After confirming the leak and completing the repair, perform another test using the same connection, pressure and test conditions. The repair can be considered effective only when pressure performance improves, flow becomes stable, and smoke is no longer visible at the original leak point. After testing, turn off the smoke and air flow, disconnect the power supply, and allow the equipment to cool before removing the hoses. Handle any remaining test oil according to the equipment instructions, and store the adapters and power cables properly.
Common mistakes include using excessive pressure, judging a leak before the system is properly sealed, mistaking a normal vent for a leak point, running the equipment continuously for too long, and adding oil while the equipment is hot. Maintain adequate ventilation during operation and keep the equipment away from sparks, open flames, fuel vapors, and hot exhaust components. If the overheat protection is activated, switch off the equipment and allow it to cool completely. Do not repeatedly restart the unit immediately.
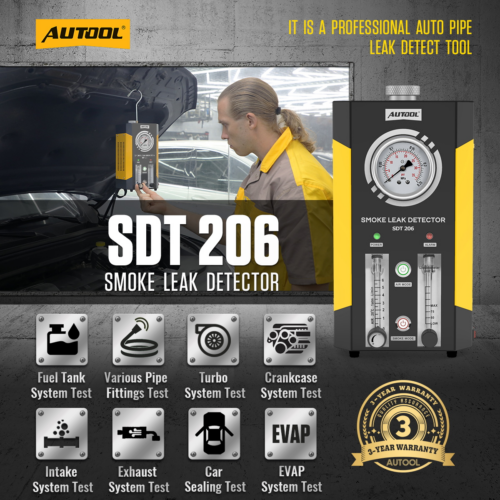
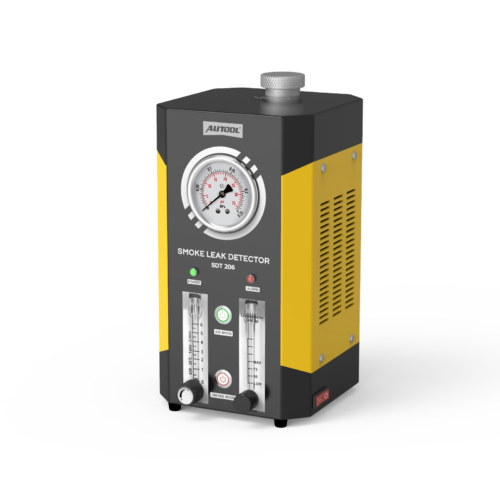
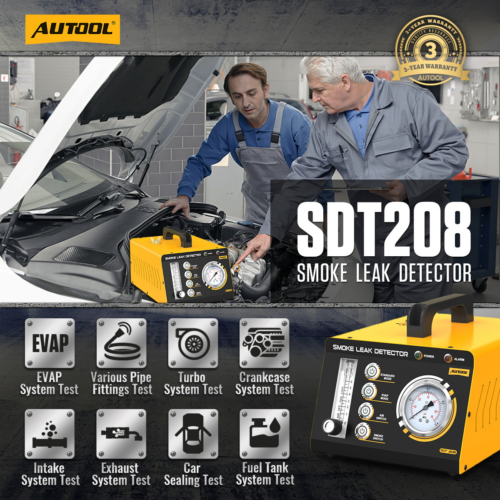
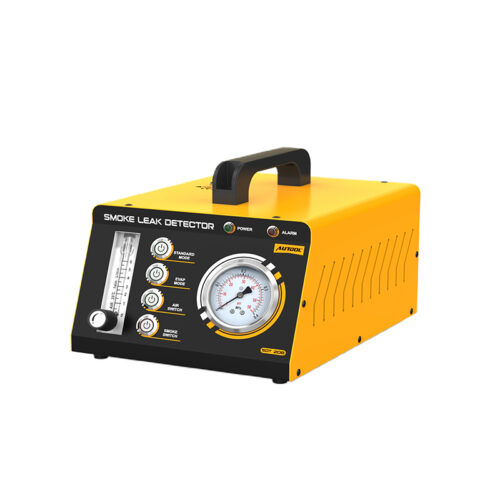
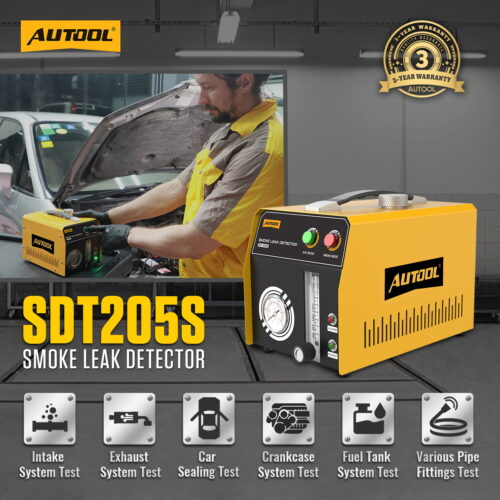
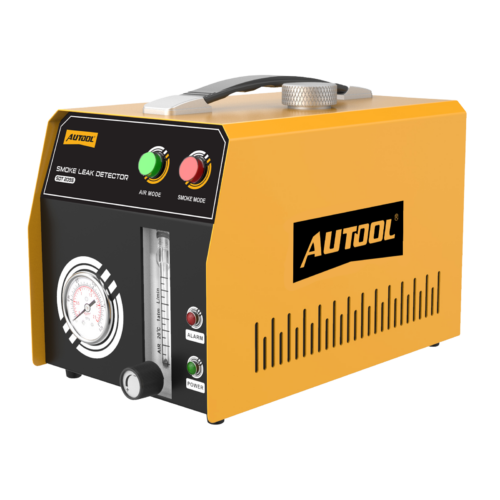
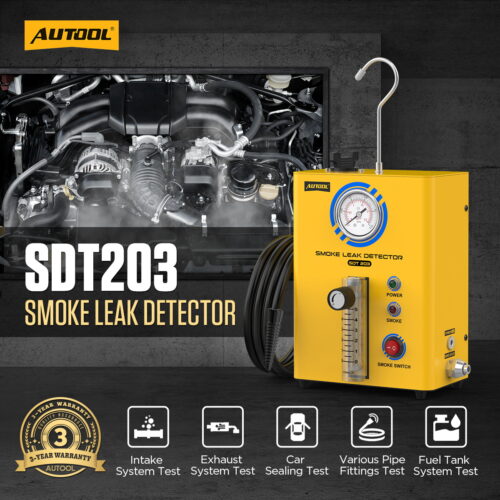
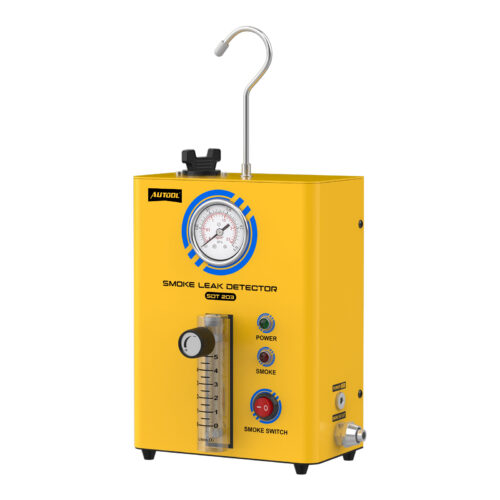
A proper smoke leak testing procedure should follow the sequence of confirming test conditions, sealing the system correctly, applying controlled pressure, monitoring feedback, locating the leak with smoke, repairing the fault, and retesting. AUTOOL offers a range of smoke leak detectors, from portable models with built-in pumps to units with pressure, flow, and multi-mode control. Selecting the right equipment for the vehicle system and always following the vehicle service information can make smoke testing a reliable diagnostic method rather than another source of misdiagnosis.